How to Convert an Image to an Editable Word Document
Select a clear image, convert its content, check the result, and download an editable DOCX.
Updated September 3, 2026
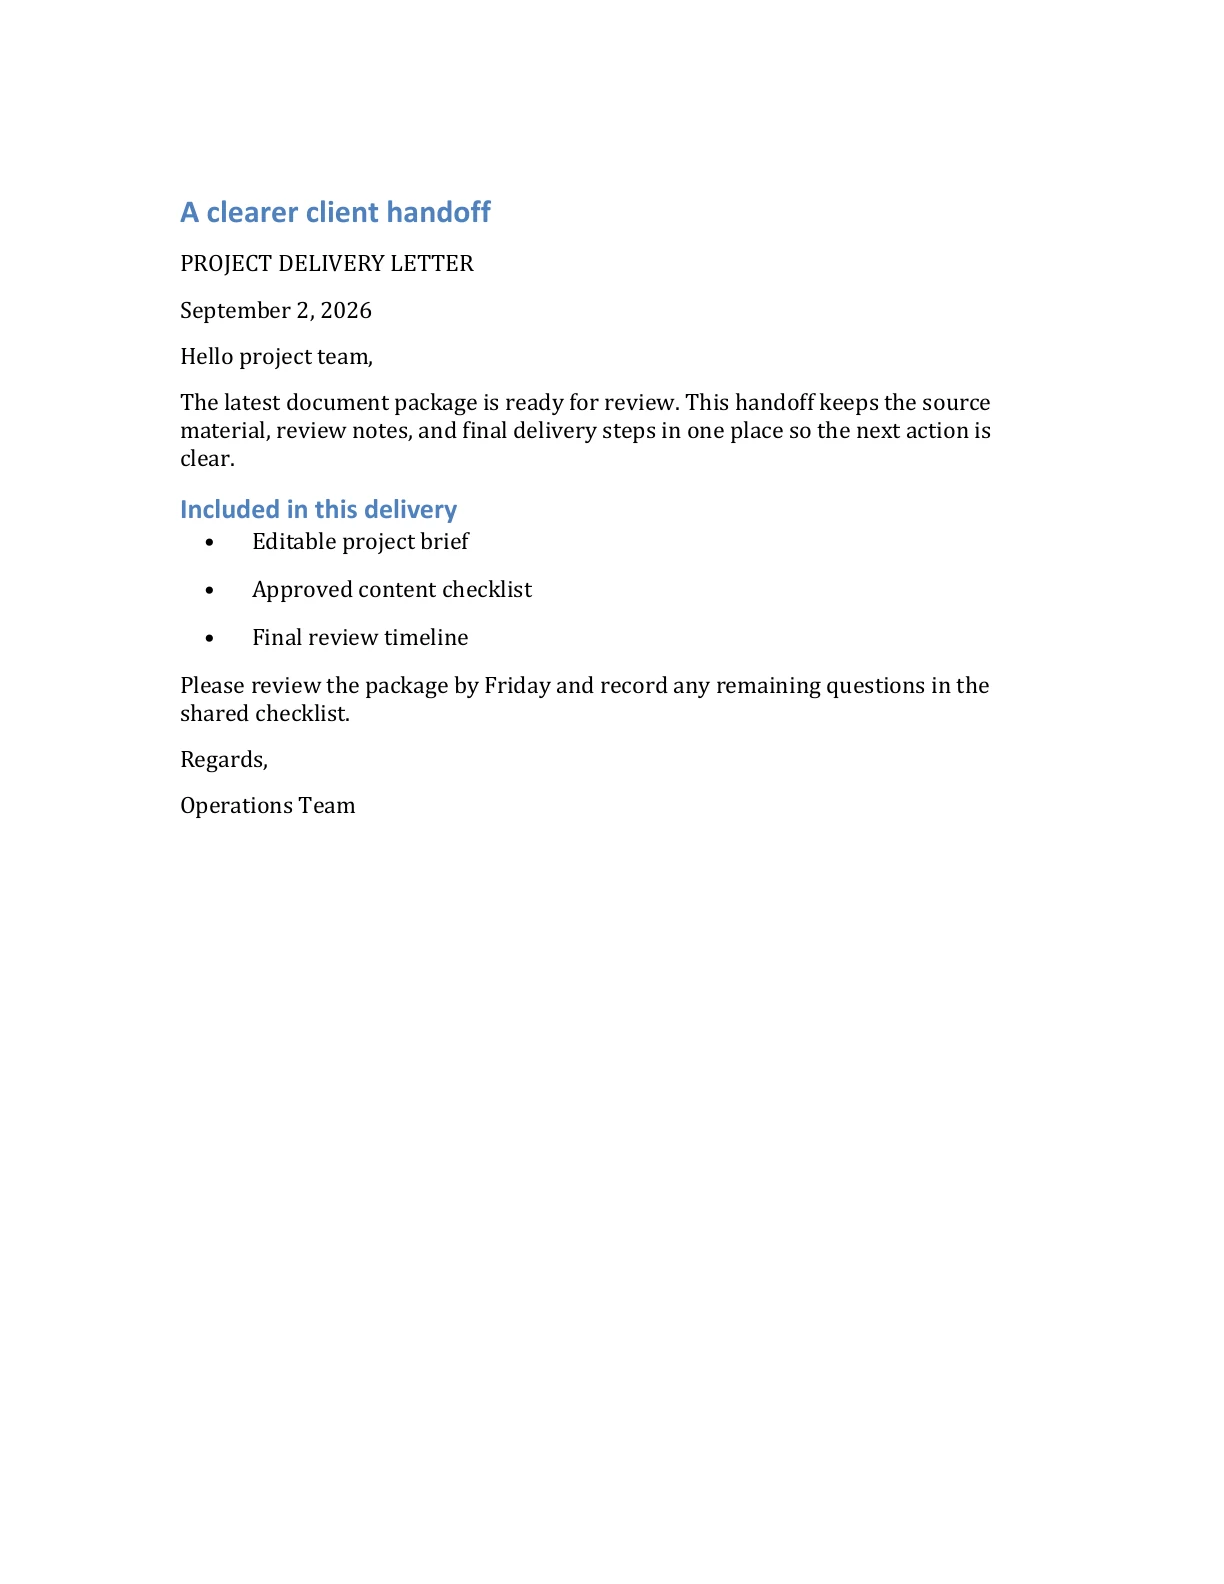
What image to Word conversion does
Placing a picture inside Microsoft Word does not make the words editable. Image to Word conversion uses optical character recognition, commonly called OCR, to identify visible text and create a DOCX that you can revise, search, and copy from.
The recognized document is a new output, not a pixel-perfect copy of the image. Clear paragraphs, headings, and simple lists usually produce the most useful result. Complex columns, decorative typography, forms, and tables may need manual adjustment after conversion.
Editable content
Recognized words are placed in a DOCX so you can correct text, change formatting, and continue writing.
Review remains important
Compare the Word file with the source image before relying on names, figures, punctuation, or layout.
Prepare the image before uploading
Start with the clearest version of the document you have. ImageToWord accepts one JPEG, PNG, or WEBP image up to 10 MB on the main converter. A clean source reduces the number of corrections you may need later.
Rotate the page
Make sure the text reads horizontally and the page is not upside down or sideways.
Crop unused space
Keep the document edges and remove surrounding desk, browser, or camera content when practical.
Check focus and contrast
Letters should have clear edges and stand apart from the paper or screen background.
Use the original file
Repeated saving, messaging, or screenshots can introduce blur and compression around small text.
Convert the image
Open the converter, choose a file, and inspect the local preview. The file is not uploaded merely because you selected it. Upload begins after you sign in and choose Convert to Word.
After submission, the private result page shows the task status. Keep that page open or return through Conversion history. Active tasks continue on the server even if you leave the result page.
Choose one image
Browse, drag, or paste a supported image and confirm its name, type, and size.
Sign in
An account keeps the result and download available only to the user who created the task.
Start conversion
Submit the image once. The result page reports queued, processing, completed, or failed status.
Open the result
When processing completes, review the Markdown preview and download the DOCX.
Review the Word document
OCR saves retyping time, but it cannot infer every detail with certainty. Review the information that would cause a problem if it were wrong, especially personal names, reference numbers, dates, totals, and punctuation.
Open the DOCX in a compatible editor and compare it with the image. Correct recognition errors first, then adjust headings, lists, spacing, and tables. This order keeps content review separate from visual cleanup.
Text
Check similar characters such as O and 0, I and l, and punctuation next to numbers.
Structure
Confirm that headings, paragraphs, bullets, and reading order match the source.
Tables
Verify every cell and rebuild the table if the output has been linearized into plain text.
Formatting
Apply fonts, spacing, margins, and alignment after the words and structure are correct.
Download and manage the result
Download your DOCX when it is ready. Automatic deletion within 24 hours is not guaranteed. You can request file deletion from Conversion history.
File deletion and history updates are confirmed separately. If either step cannot be confirmed, follow the message in Conversion history to try again. Clearing browser data does not delete uploaded files.
Continue with the right converter
Use the main converter when you have JPEG, PNG, or WEBP. Use the format-specific pages when you want instructions and validation focused on one file type.